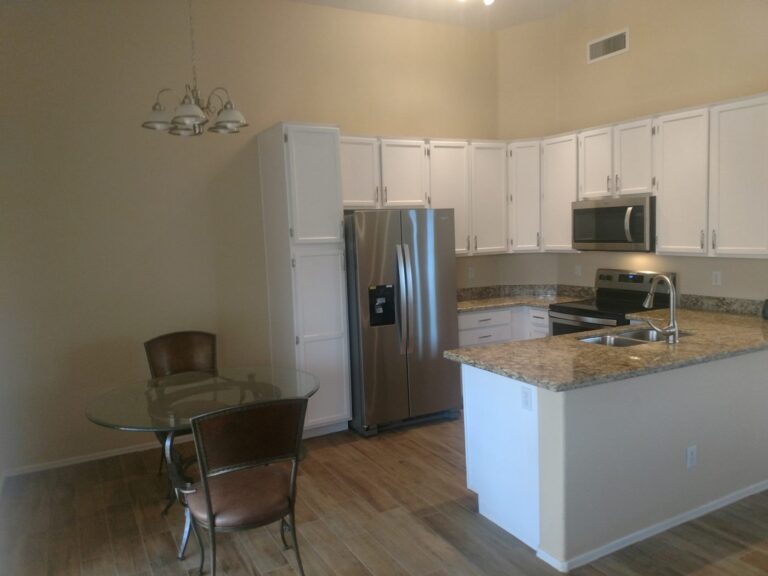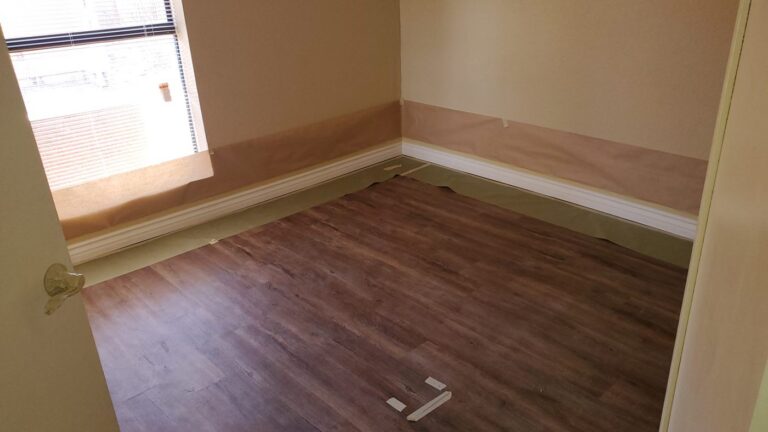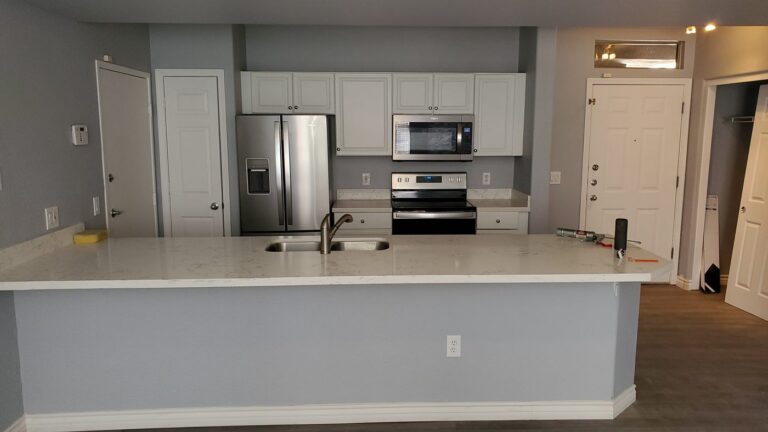
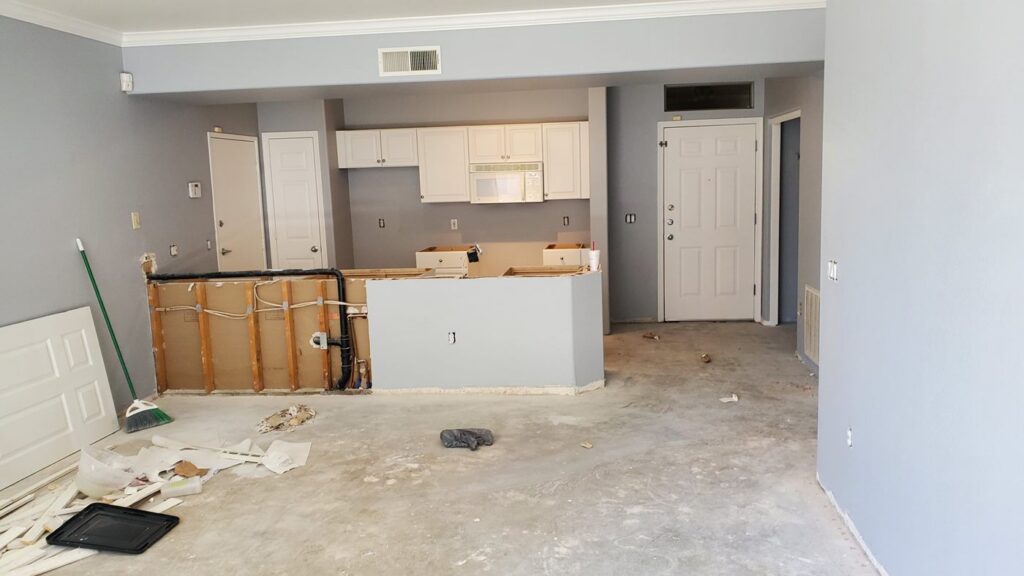
Turnover photo documentation reduces owner questions because it shows the condition of the unit at move-out and the finished work at completion, line item by line item. When the photos arrive with the invoice, your owners can see what was wrong, what was done and what the unit looks like now, without calling you to ask.
Key takeaways
- Photograph every room at move-out, before anyone cleans or repairs anything.
- Retake the same shots from the same angles at completion so before and after line up.
- Organize photos by room and tie each one to a line item in the scope.
- Keep the record. It is the baseline for the next move-in and the next turn.
Why does turnover photo documentation cut down on owner questions?
Most owner questions after a turn are versions of the same few. Why did this cost what it cost? Was that repair really needed? Is it actually done? An owner who lives out of state, or who has not been inside the unit in years, has nothing to go on but an invoice and your word.
Photos change that. A dated picture of a stained carpet, a broken door or a corroded shutoff valve explains a line item better than a paragraph does. A matching picture of the finished work closes the loop.
Owner reporting in property management runs on trust. That is why our process for property managers starts and ends with photos.
What should move-out inspection photos include?
Take move-out inspection photos as soon as you have possession, before cleaning, trash-out or repairs.
- Every room, wide: one shot from the doorway and one from the opposite corner.
- Floors: stains, wear paths, cracked tile, lifted plank.
- Walls and ceilings: holes, old patches, scuffs, water stains, unapproved paint colors.
- Kitchen: counters, cabinet doors and drawers, inside the oven and refrigerator, under the sink.
- Baths: tub and shower surround, caulk lines, toilet base, vanity, under the sink, exhaust fan.
- Doors and windows: hardware, blinds, screens and tracks.
- Mechanical: water heater and its connections, HVAC filter and thermostat, electrical panel, smoke alarms.
- Exterior: entry, patio or balcony, storage, garage, yard.
For each problem, take a close-up and a wider shot that shows where it sits in the room. Leave the date stamp on. If the water heater looks rough, flag it for a closer look. (DHR offers a free 25-point water heater inspection.)
What should the completion photos show?
Go back to the same spots and shoot the same angles. Every line item in the scope should have at least one after photo that pairs with a before photo.
Photograph hidden work before it gets covered: the plumbing repair inside the wall before the drywall patch, the subfloor before new flooring, the new supply lines under the sink. Finish with wide shots of each cleaned room. Those are the pictures that tell an owner the unit is rent-ready.
How do you organize before and after photos for a rental?
Sort by room first, then by line item. An owner should be able to read the scope and the photos side by side:
| Room and line item | Before photo shows | After photo shows |
|---|---|---|
| Kitchen: replace sink faucet | Leak at faucet base, stained cabinet floor | New faucet, dry cabinet |
| Hall bath: recaulk tub | Failed, discolored caulk | Clean new caulk line |
| Back bedroom: patch and paint | Holes from a mounted TV | Patched, textured, painted wall |
Name files with the address, unit, date and room so they sort on their own. Keep everything for one turn in one folder or one PDF, not scattered across text threads.
What goes in a turnover closeout report?
- Property, unit, and the dates of the move-out walk and completion.
- The approved line-item scope, plus any added items and who approved them.
- Before and after photos, grouped by room and line item.
- Items that were noted but not approved, with photos, so deferred work is on record.
- Material notes: paint color and sheen, flooring product, fixture models, filter size.
Send it with the invoice, so the answers and the bill arrive together.
How does the same record help on the next turn?
The completion photos become your move-in baseline. At the next move-out, you compare new photos against them room by room.
The material notes save time too. Your contractor already knows the paint color, the flooring and the fixture models, so touch-ups match and parts can be ordered before the walk. The deferred list tells the owner what is coming, which makes the next repair or maintenance approval a shorter conversation.
Frequently asked questions
Who should take turnover photos, the property manager or the contractor?
Both can. Many managers shoot their own move-out set, and the contractor photographs the scope walk and the finished work. Cover the same rooms and angles both times.
How many photos does a rental turnover need?
There is no set number. Cover every room wide, and give every line item a before and an after.
Can turnover photos be used in a security deposit dispute?
A dated photo record of condition is useful to have, but how deposits and disputes are handled depends on your lease and Arizona law. Confirm the specifics with your attorney.
How DHR documents tenant turnovers
DHR Contracting started as the maintenance department of a residential property management and real estate firm, so our closeout was built for owner reporting. Every tenant turnover begins with a site walk with photos and a line-item scope, runs under one project lead, and ends with a documented closeout with before-and-after photos. Send us the address and you get a same-day callback.